Software Environment
We will be using a distribution of python known as Anaconda Python, which comes shipped with the majority of the tools that we need for the course. Click here to download Anaconda. Please choose the 64-bit version of Python 3.9 for your operating system (Windows/Mac/Linux), download it, and follow the default options during installation, includng registering this as the default Python for your system.
Once you install Anaconda, you should be able to launch Jupyter, which is the environment we will be using to write and run code. Under Windows, you can launch this by searching for them in the search bar. Under Mac/Linux, you can run it by typing jupyter in the command prompt.
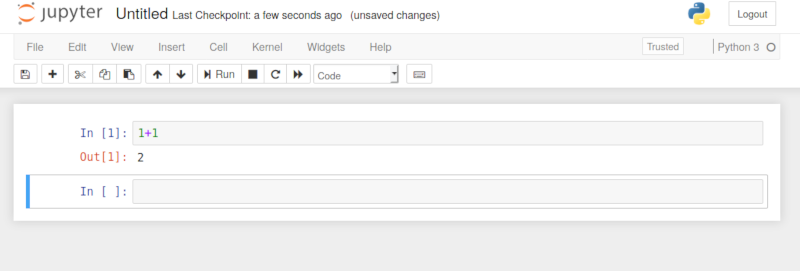
Below is a picture of what jupyter looks like
External .py Files Autoreloaded in Jupyter
Eventually in this class, we'll treat jupyer notebooks like an extended "main" with experiments/plots, while the bulk of important methods will go in a separate .py file that we import into a jupyter notebook. You can make a .py file from within the jupyter interface as follows (or you can use any other text editor such as Visual Studio Code or Atom, as long as you save it in the same directory as your notebook):
Then, you can create a notebook and import all of the code from your file by typing
Where I'm assuming I'm in the same directory as a file called mycode.py (or whatever else you want to call it). The autoreload extension makes it so that you don't have to restart your notebook every time you make changes to your .py file, unless you add methods, in which case you'll still need to restart the notebook
Google Colab
For students who prefer to work on the cloud during class, there is a cloud-based version of Jupyter python known as Google Colab that you can use.